portfolio site templates

ENGINE - SHADERS - ANIMATIONS - PHYSICS - AI

Sandra Alvarez Garcia

PROGRAMMER

@sandruskiag

Sandra Alvarez

Sandruski

Project overview

I am Sandra and I am one of the programmers of the team. I love programming!

My journey through this project has been very diverse. The first half of the development, I focused in engine programming, with roles in the graphics (shaders and animations) and the physics fields. The second one, I have been involved in AI programming, with tasks ranging from the movement of the agents to their decision making.

Engine

At the beginning of the project, we decided to pick the engine that my colleague Guillem and I had developed for the Game Engines subject as a base for the new JellyBit Engine. Our engine is called Neko Engine. Since the two of us were already familiar with the structure of the engine, because we had built it from scratch, we started improving it.


RESOURCE MANAGER

  • Redo it: redesign and reimplement the module and adapt the resources (for engine mode and game mode).
  • Write metas in binary: to increase file reading speed considering the amount of assets.
  • Add new import settings: scale to the scene importer, because not all models have the same size, and wrap and filter modes to the materials importer, because decals need special textures.
  • Use binary shaders and update uniform locations.

MATERIAL RESOURCE

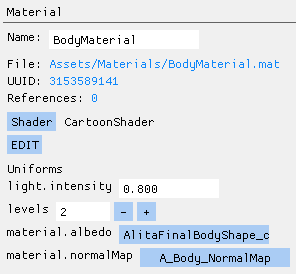
- Choose from a list of shaders: contains the ones created directly from the editor (custom) and the built-in ones.
- Assign values to the uniforms of the chosen shader.
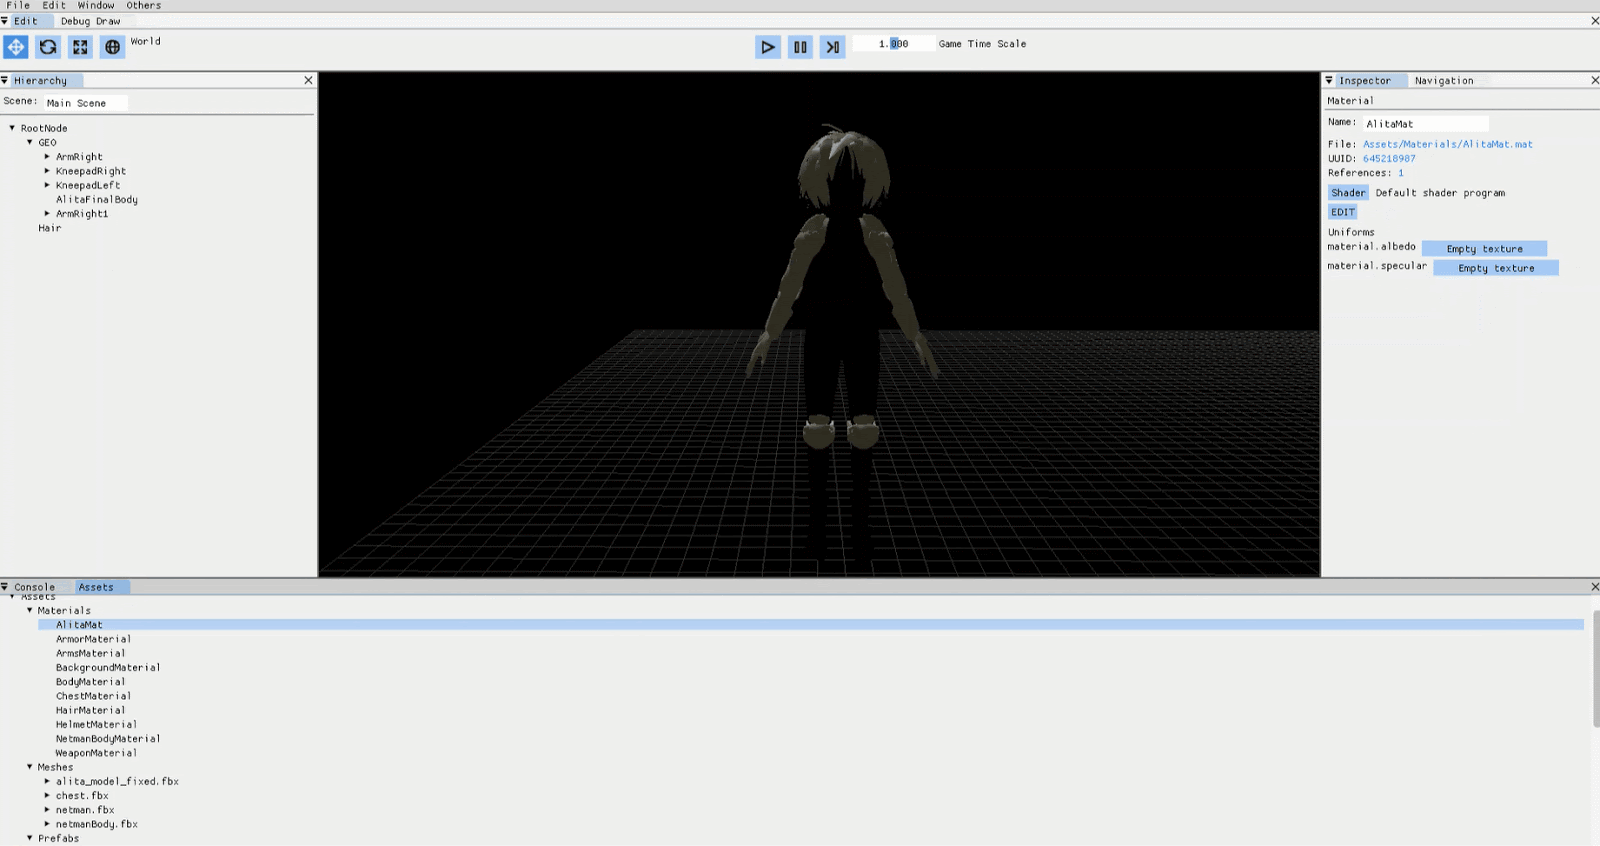
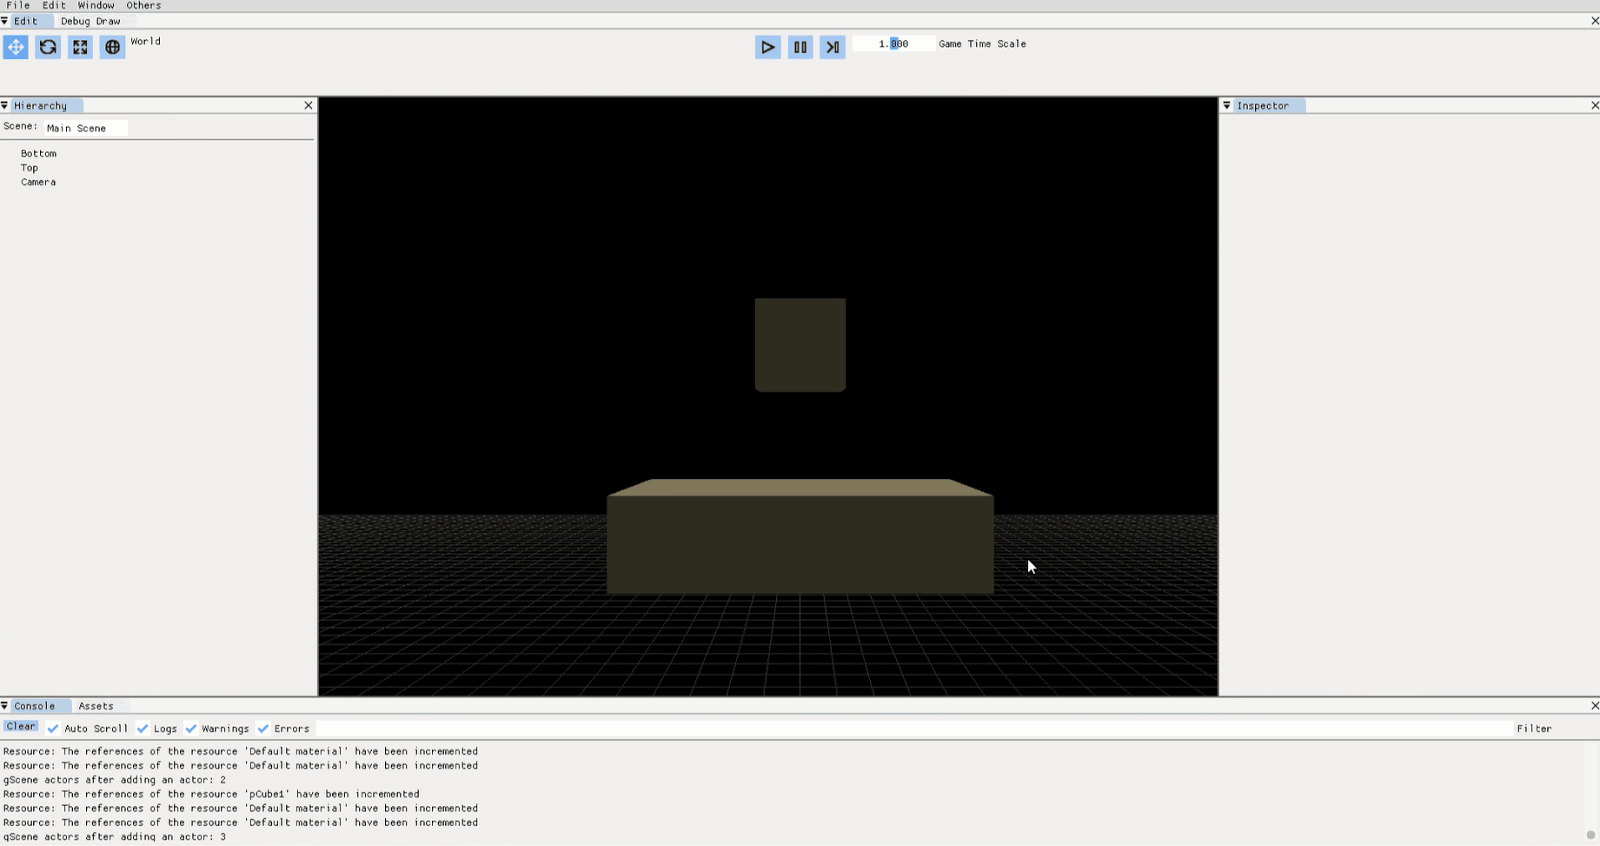
- Default material (built-in): uses the default shader and the default texture.

Mobirise
Mobirise

LAYERS SYSTEM
(filter groups and filter masks)

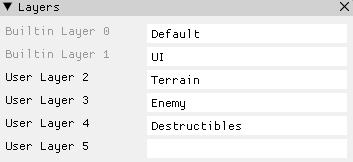
- Create new layers by naming them.
- Assign a layer to a gameobject (custom or built-in).
- Default layer (built-in).

Mobirise

Shaders

For the third assignment of the Game Engines subject, Guillem and I implemented the high-level system of a shaders pipeline. As a consequence, I coded some unique shaders using different shading techniques. The feedback of Víctor was key to achieve great results.


CARTOON SHADER
(fragment)

To achieve a style similar to the one from the manga Gunnm, we took the game The Legend of Zelda: Breath of the Wild as a reference. We were looking for a hand-drawn style, which the simple cartoon shading already provided.

Uniforms: albedo texture, mix color, and pct mix.

Mobirise
Mobirise

Flash when an enemy is hit.


OUTLINE SHADER
(geometry)

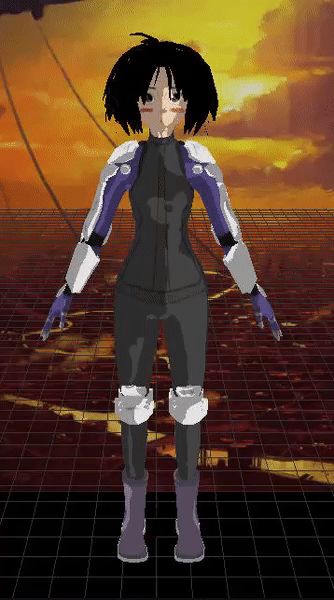
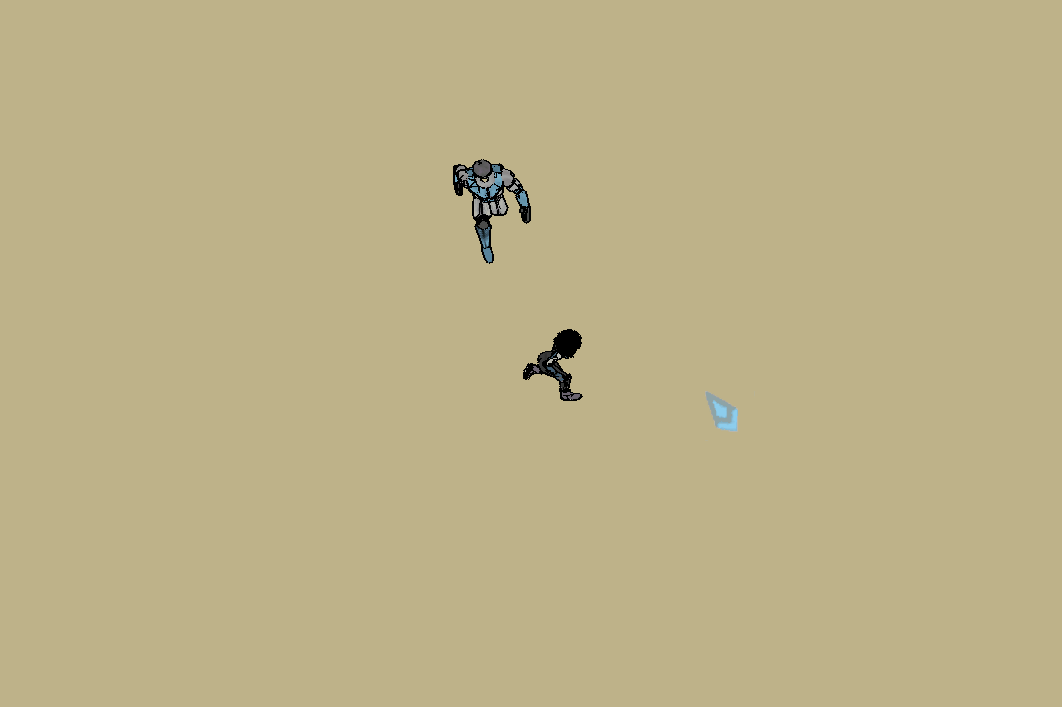
To add the final touch to the Cartoon Shader, with the game Borderlands as a reference, I mixed it with the Outline Shader. Even though Borderlands does not use cartoon shading, we thought that the mix of both shaders could add personality to our game. 

Uniforms: line color, edge width, and pct extend.

Mobirise
  • Calculate and use adjacent indices.
  • Add the Geometry Shader.

DECAL SHADER
(fragment)

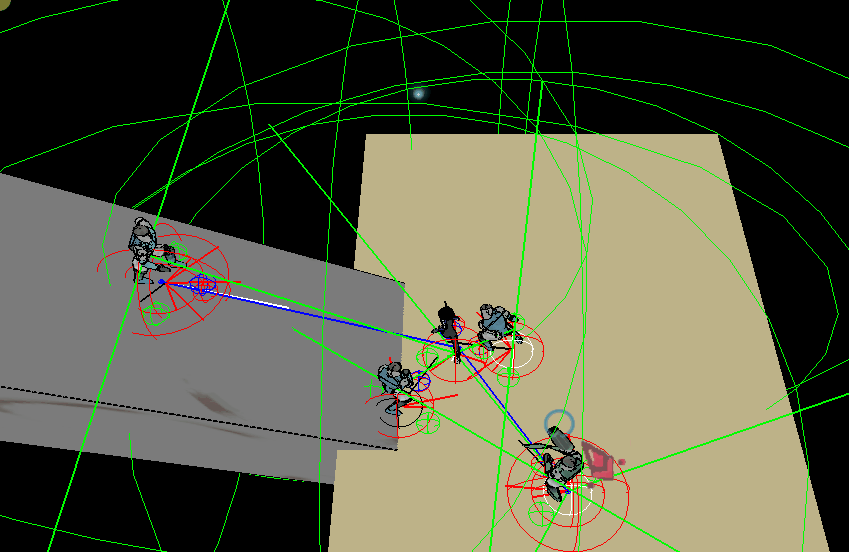
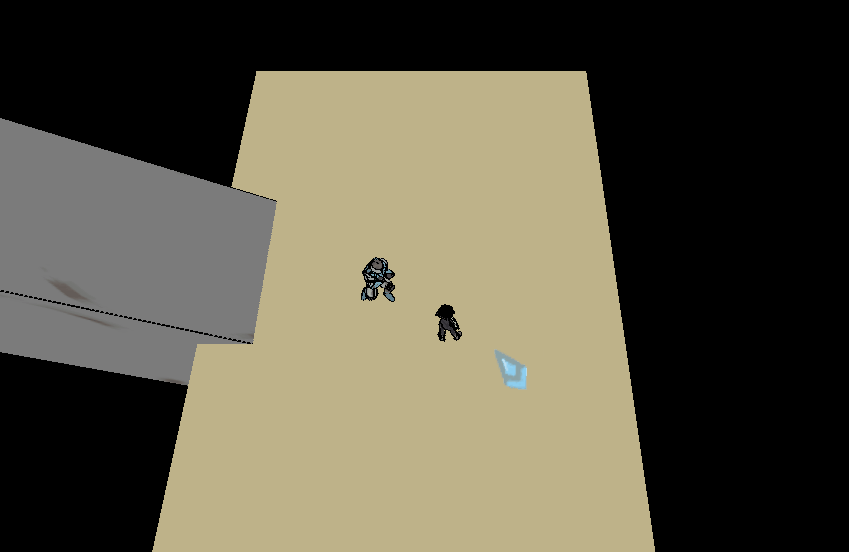
A game like Torchlight II uses a lot of decals to illustrate from the casting of skills to the explosion of objects. We planned that we would need decals for blood splatters, ground decoration, and also skills and explosions for our game.

Uniforms: projected texture, pct alpha.

Mobirise
  • Create the Projector Component: contains an editable Frustum to control how the image is projected and a layer to set the draw order of the decal. E.g. ground decoration is drawn below blood splatters, that are drawn below the shadows of the characters.
  • Define draw order: static and dynamic meshes. Decals are never drawn onto dynamic meshes.

FIRST APPROACH. Projected Texture Shader

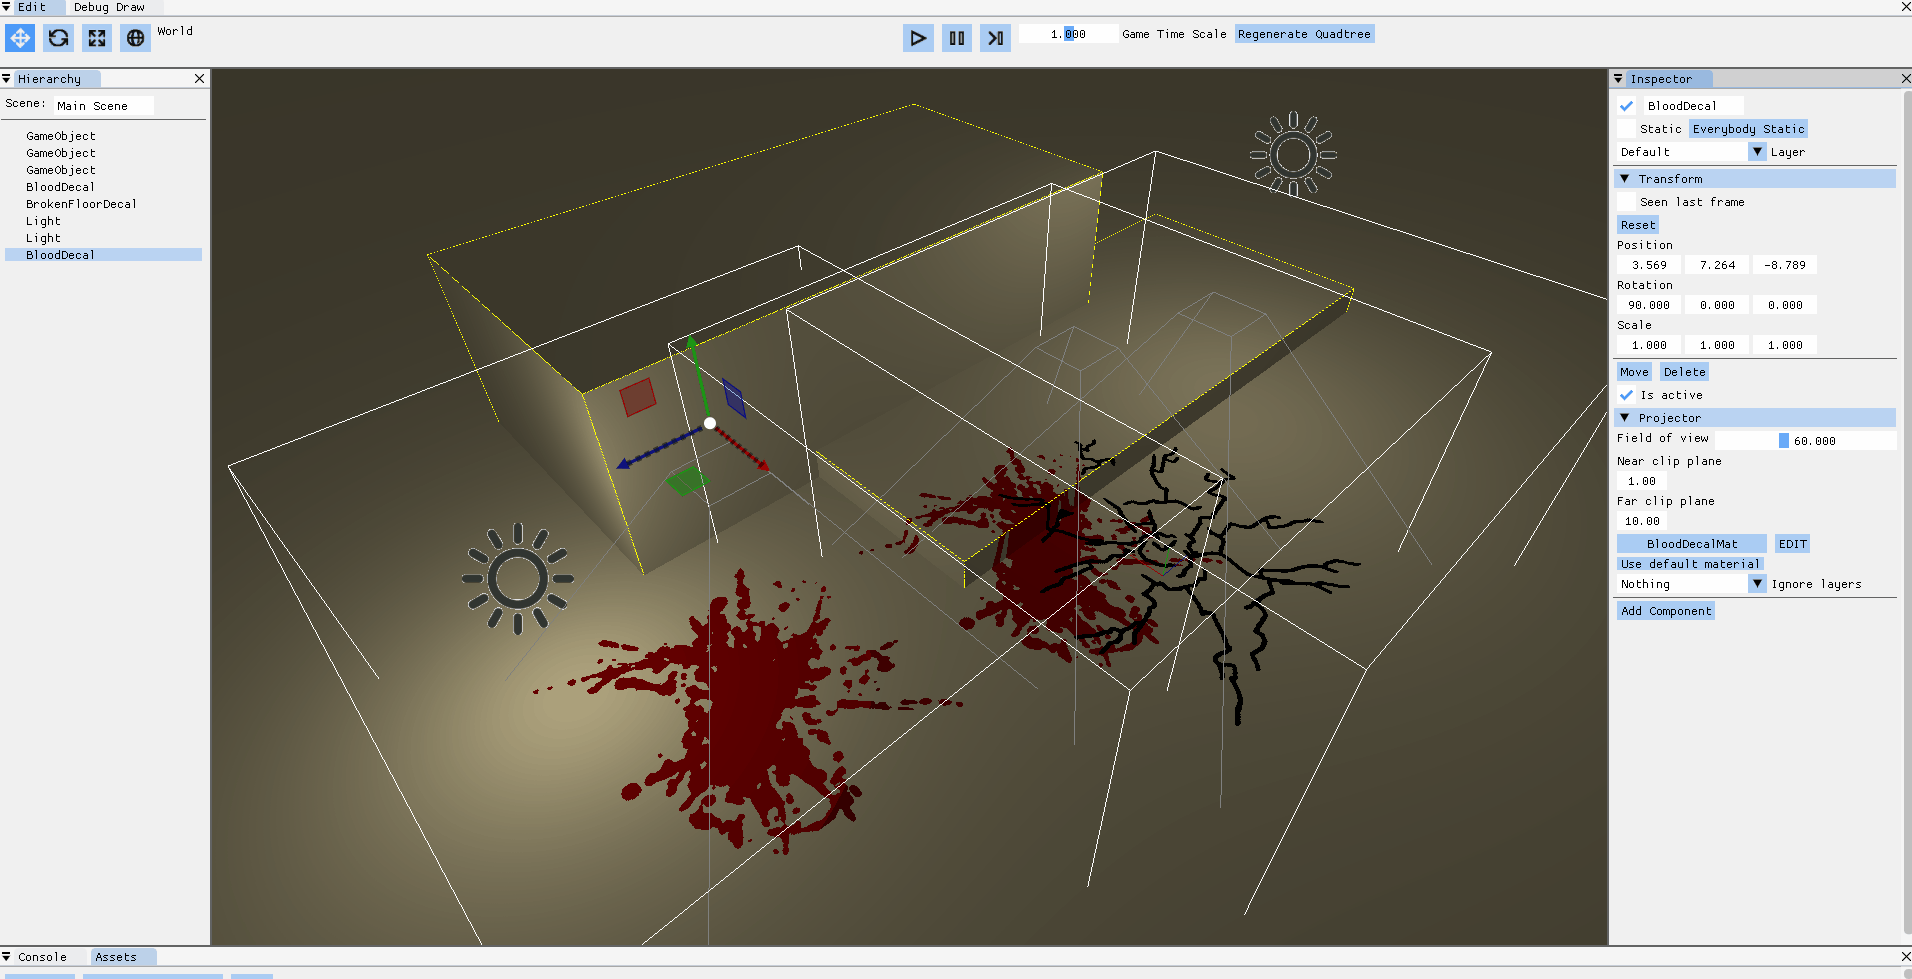
Instead of drawing the image onto the surface of a plane, which could cause the plain to not adapt correctly onto certain irregular surfaces, I followed the technique of projective texture mapping. Our map has lots of small elements laying on the ground.

→ The good: the image was applied to all the geometry as if it was a projection from an hypothetical “slide projector”.
→ The bad: the affected area could not be edited, resulting in the image being drawn onto all the surfaces of the geometry in a straight line in front of the projector. 

FINAL IMPLEMENTATION. Deferred Decal Shader

When Guillem made the renderer deferred, he opened me the door to move to deferred decals, because we suddenly had access to the G-Buffer. Even though the result was visually the same, it had a better performance and was easier to maintain.

→ The good: it was not needed to render the whole scene for each decal, each geometry could have more than one decal drawn, and the affected area was inside a box.
→ The bad: I followed the article “A Deferred Decal Rendering Technique” from the book Game Engine Gems 1 and I stopped using the “slide projector”, having less control on the projection. Solution: combine both techniques.

Mobirise

Blood splatter decal: when an enemy dies, a blood splatter decal splashes the ground looking at the last direction he has been hit. It disappears with alpha.


FOG SHADER
(fragment)

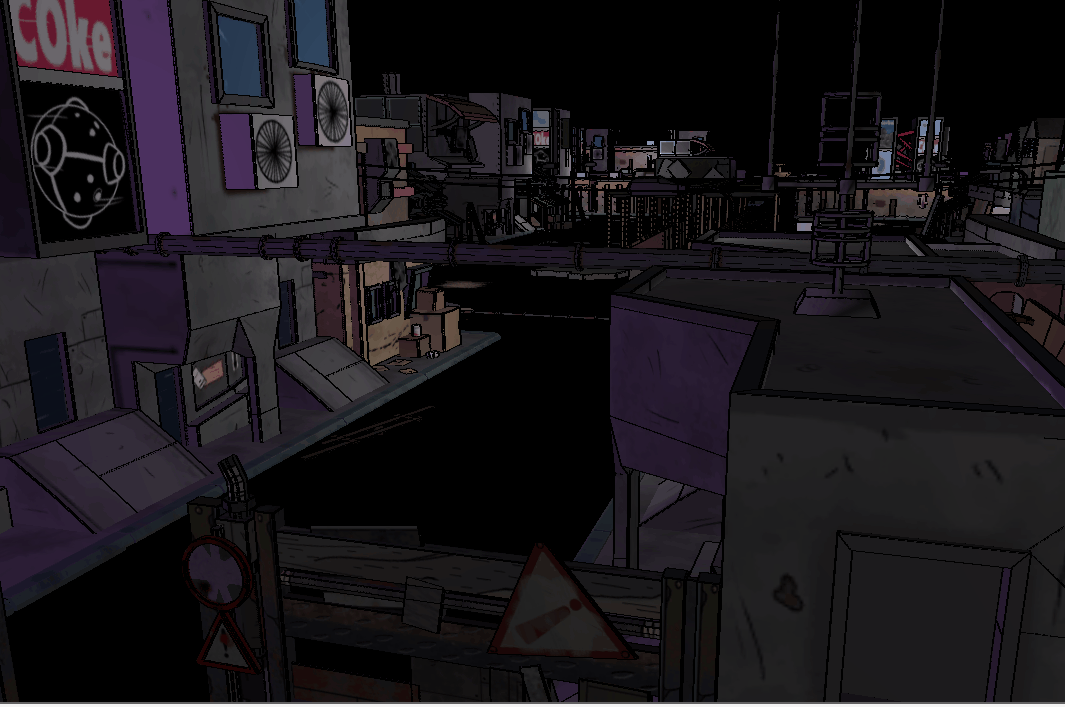
It has been designed for the sewers level because of its verticality, which allows to fill with fog those areas that are further from the camera. The density value can be Linear, Exponential, or Exponential Squared.

Uniforms: color and density value.

Mobirise

Animations

There was a point at the project when we had no other option than to move animations to the shader, because changing to the deformed mesh every draw was taking too many milliseconds. Since I had worked with shaders before in the project, together with Guillermo we improved his animations system (high-level system). We went from being able to reproduce only one animation for all the characters using the duplicated mesh technique to be able to reproduce a different animation for each character using shaders.


RIGGING AND SKINNING

  • Redo the Bones Importer: so each vertex can be affected by a maximum of 4 bones, which results in smoother animations.
  • Create the Avatar Resource: the user can set the root bone and the skeleton will be automatically created or the avatar will try to find it. The user also can set the root gameobject or the avatar will try to find it, so all meshes underneath it will be animated.
  • Implement the Animation shader (vertex).

Physics

The decision of picking the engine of Guillem and I meant that none of us had to integrate our high-level system, the shaders pipeline, in the new engine. This gave us time to implement those high-level systems that we would need later in the development but nobody had implemented yet. A few weeks before starting the project I implemented the physics high-level system.


INTEGRATE THE PHYSX SDK (NVIDIA)

  • Rigid body simulation: rigid statics and rigid dynamics (and kinematics).
  • Collision detection: editable colliders (and triggers) of the shapes box, sphere, capsule, and plane. In order to speed up the action of adding a collider to a gameobject, I implemented a method to automatically enclose its geometry (if any).
  • Scene queries: raycasts, sweeps, and overlaps.
  • Add new debug draw shapes: lines (e.g. for raycasts), spheres (e.g. for overlaps), boxes, and capsules.

LAYER-BASED COLLISION DETECTION AND SCENE QUERIES

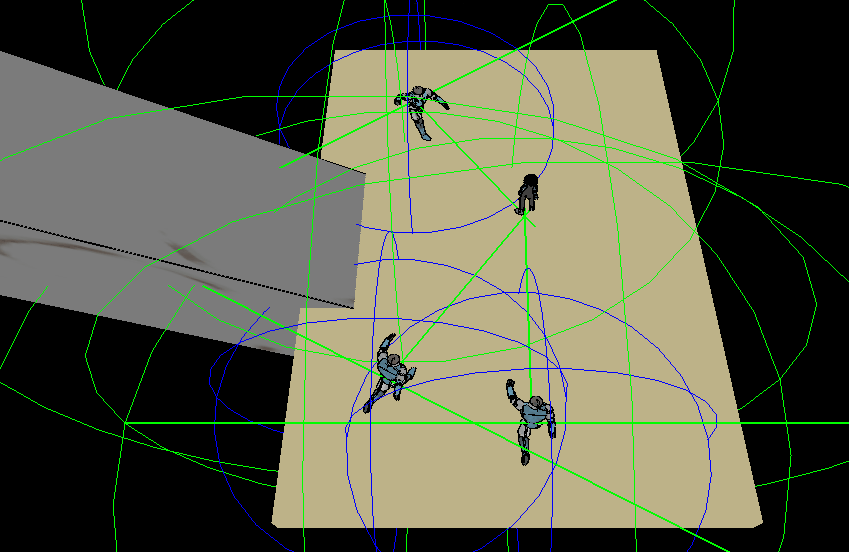
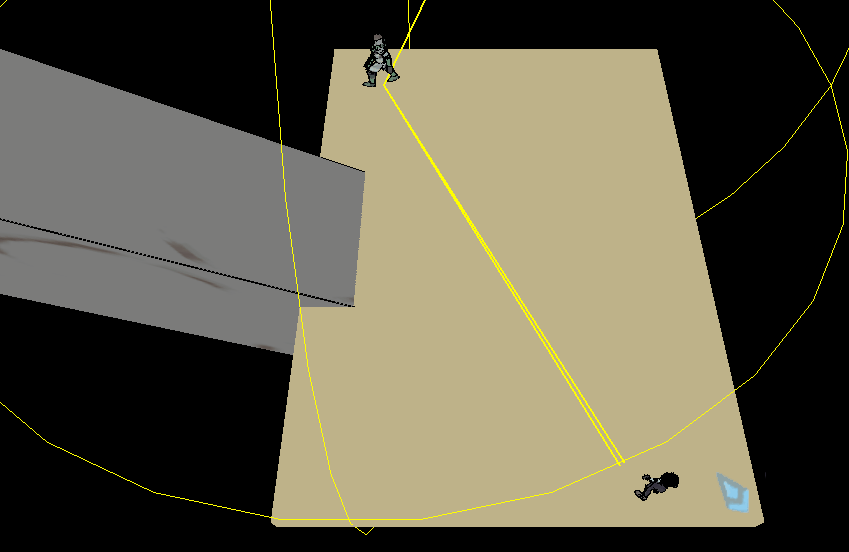
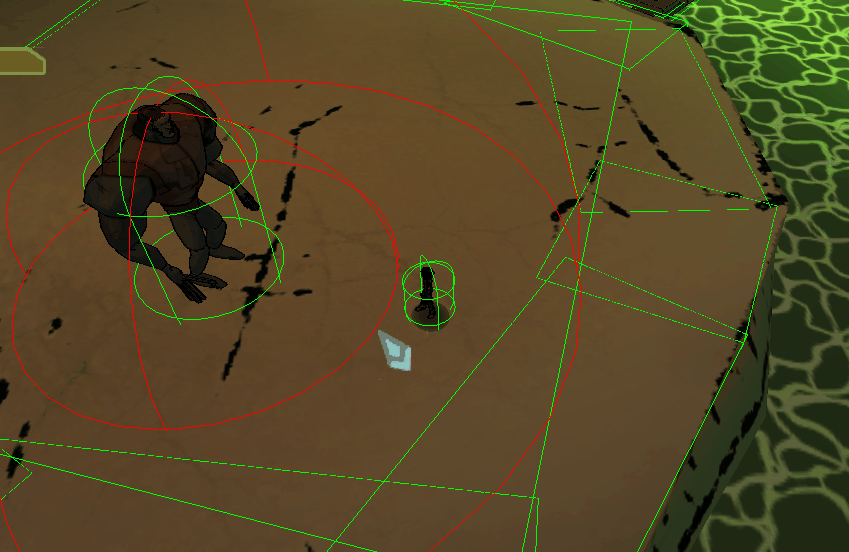
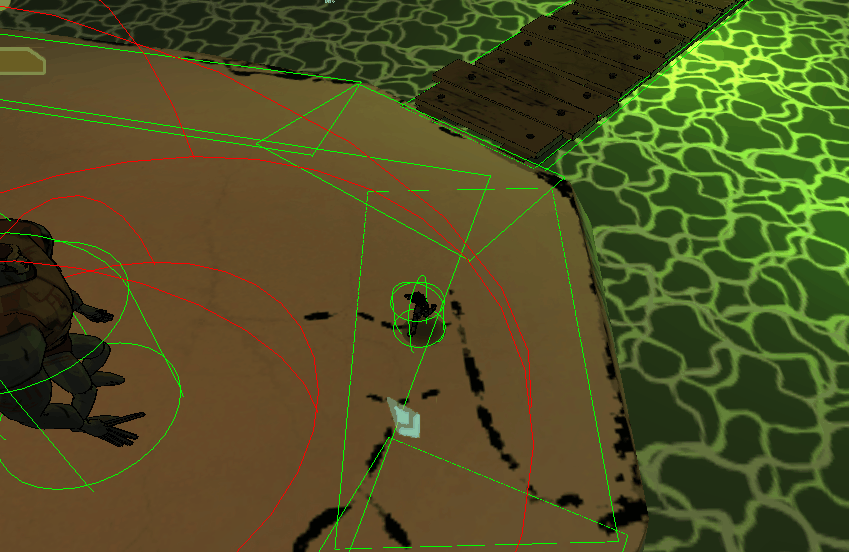
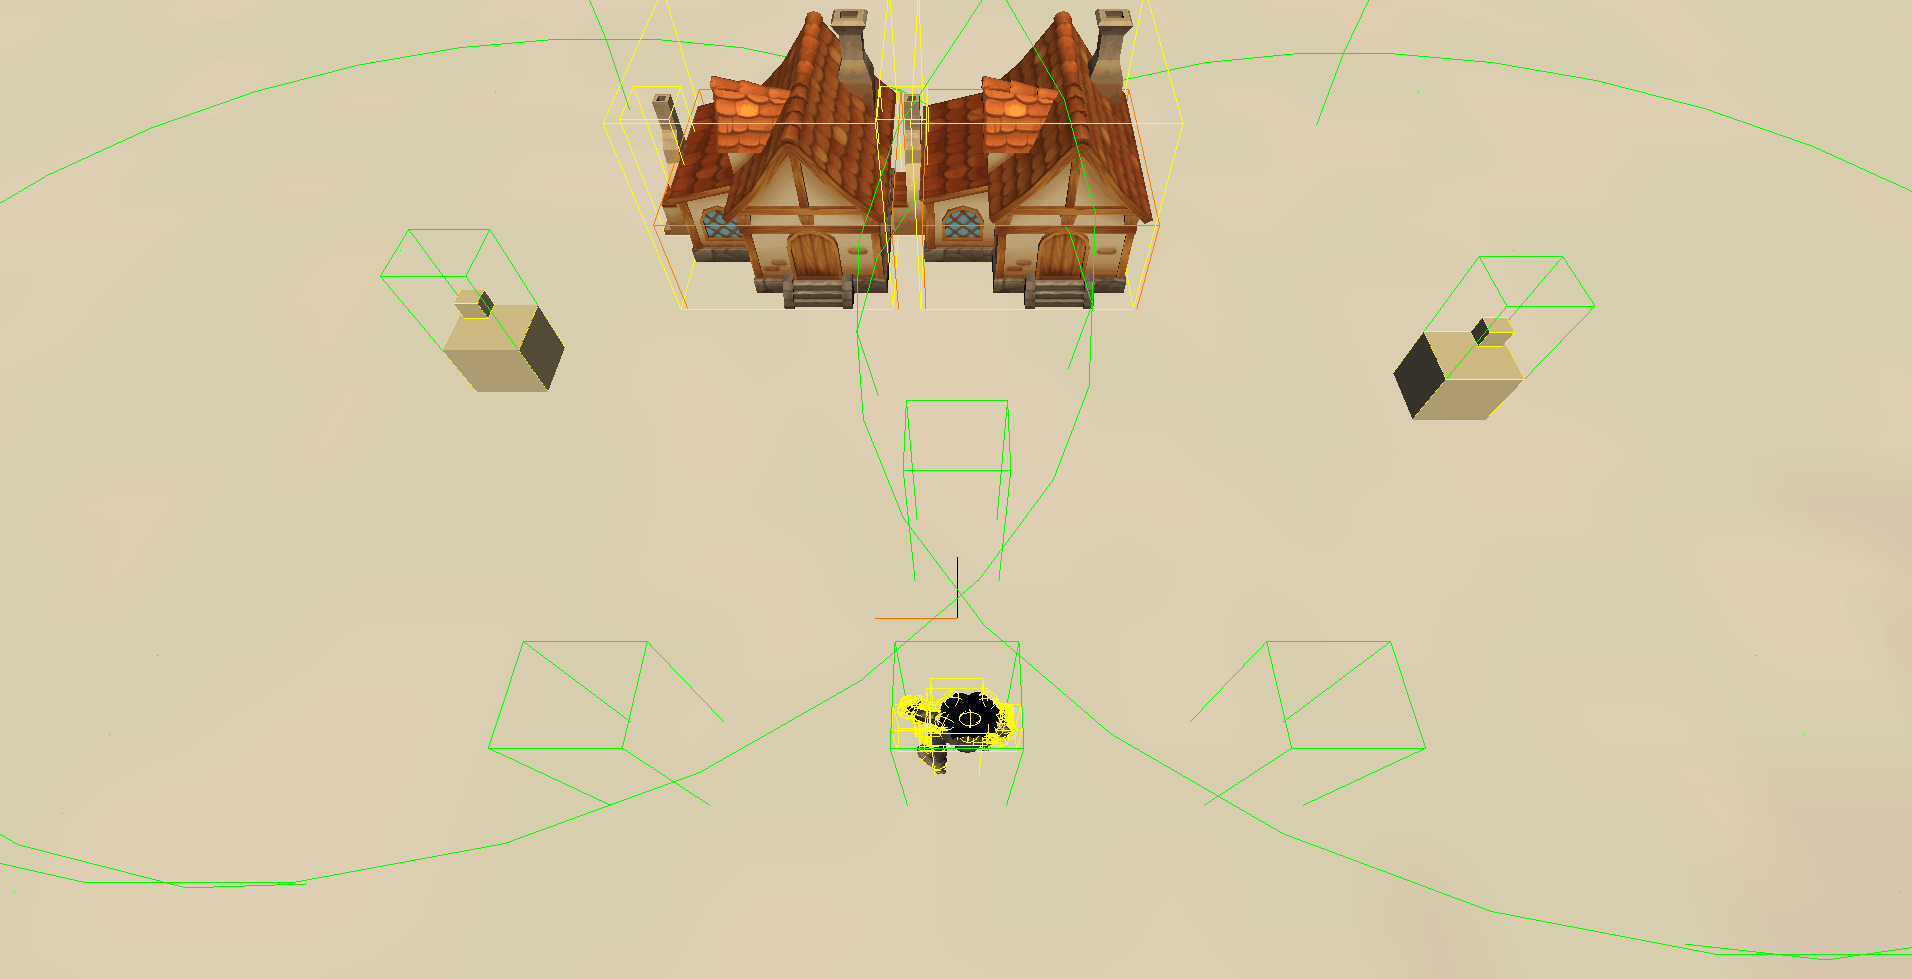
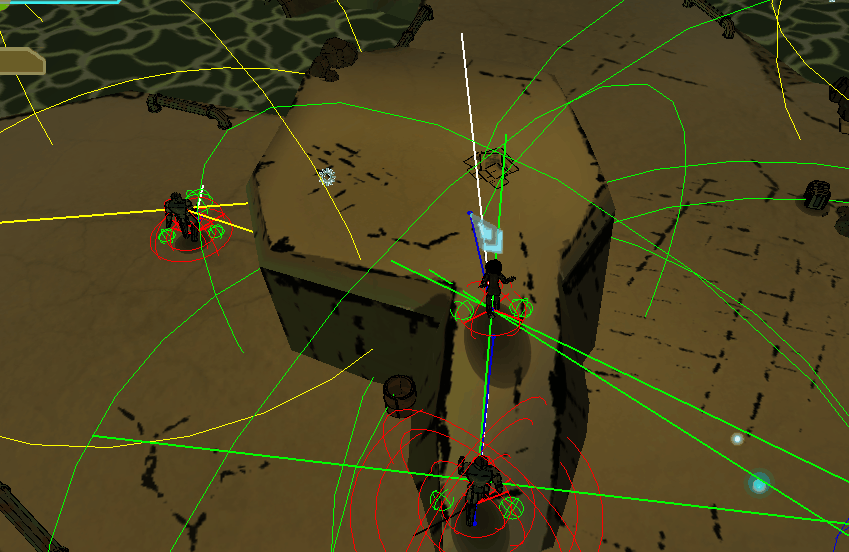
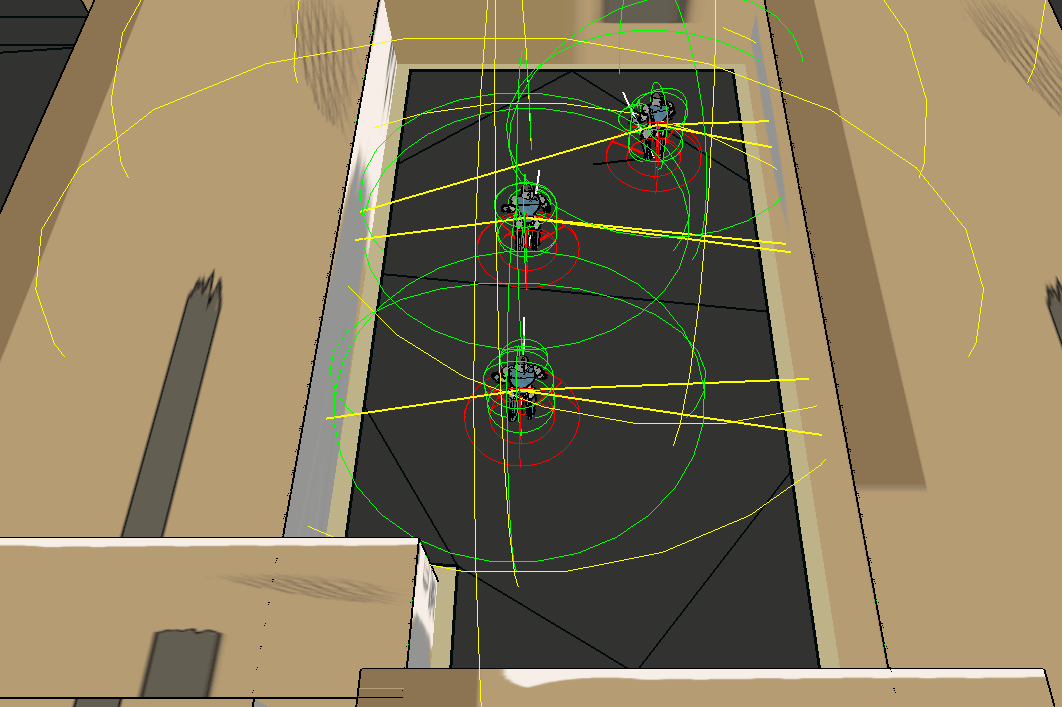
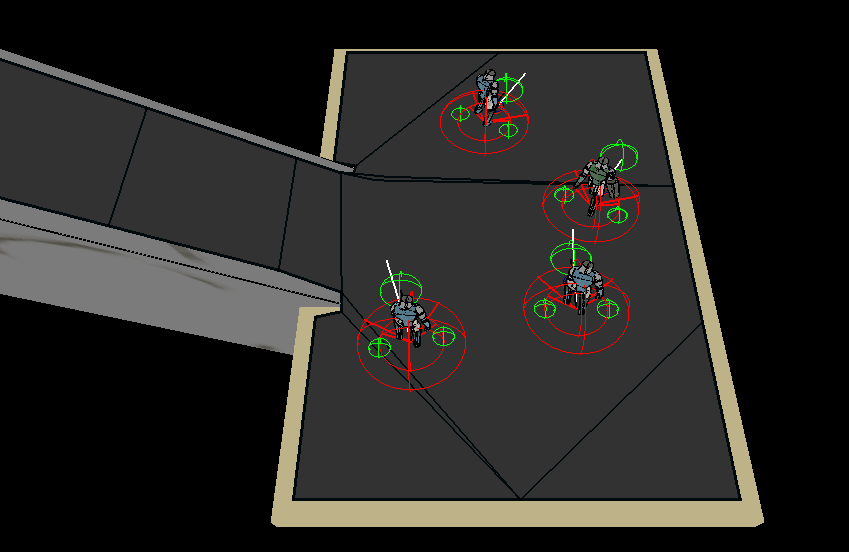
Taking advantage of the Layers that I had already implemented, I used them in collision detection and scene queries. For collision detection, I drew a layer collision matrix to set which layers collide with each other.

Mobirise

BREAKABLE CHEST

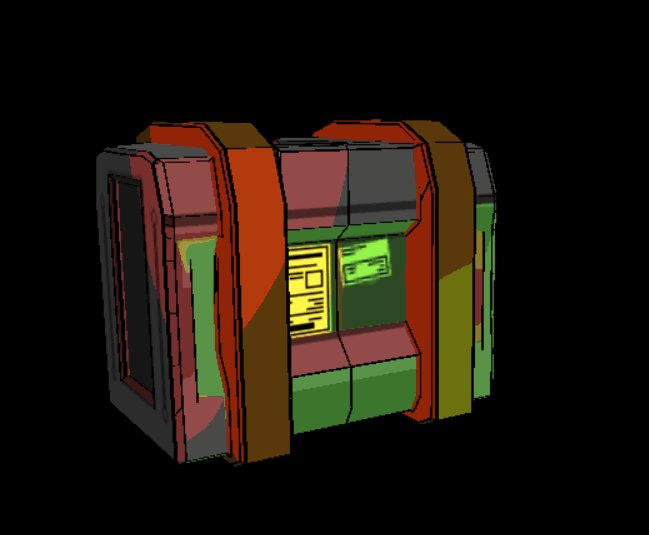
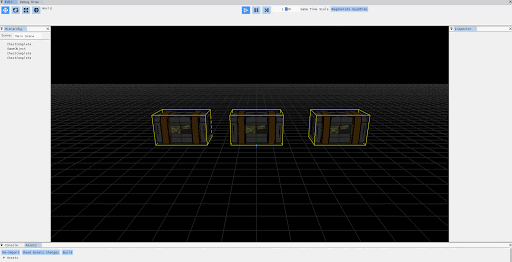
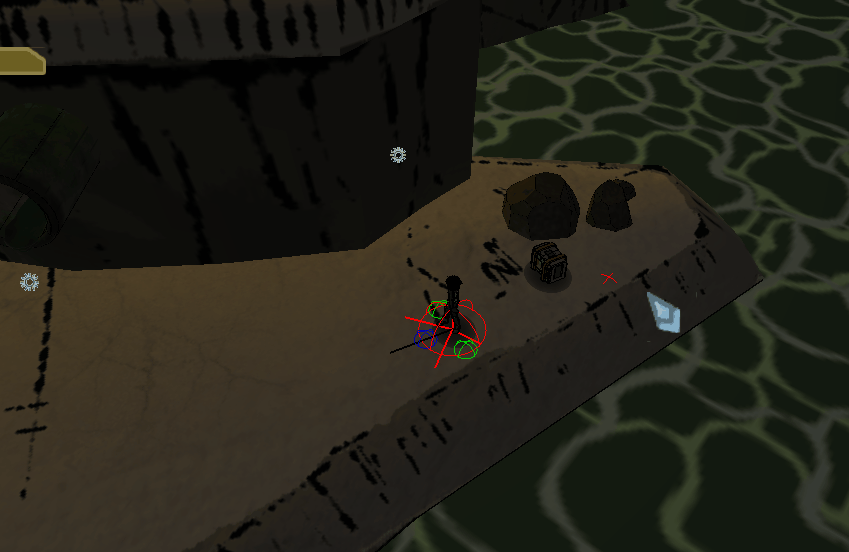
Since physics are not core to our gameplay, we had the option to use them for cosmetic effects. From the moment I saw destructibles in the game Diablo III, I could not get the idea of adding destructibles in our game out of my head. I did the very first design an implementation in C++ of the breakable chest and further improved the implementation in C# by Alex. For more information, please take a look at the article I wrote about how I implemented them using pre-baked destruction Breaking Chests.

AI

We stopped using Detour because we needed more control over the agents when switching between exploration and combat, so I jumped to program the AI in C# with our scripting system maintained by Jonathan. We could not set any breakpoints in the scripts, so we had to debug everything using console logs. I worked very close to AI designers, especially Alex.


COMBAT

  • Battle Circle (Script): limits the maximum number of Cyborg Melee attacking or hitting at the same time and the maximum number of Cyborg Ranged flanking or shooting at the same time.
  • Line of Sight (Script): controls whether the target is in Line of Sight and/or Field of View.
Mobirise

FIRST APPROACH. Circle of waypoints around Alita

→ The good:
- If a waypoint is free (not occupied and not blocked), the enemy occupies it.
- If a waypoint is occupied by an enemy, the new enemy searches for another unoccupied waypoint. If all waypoints are occupied by enemies, the new enemy waits.
- If an occupied waypoint is suddenly blocked by an obstacle, the enemy leaves the waypoint.
→ The bad:
- Waypoints are constantly being blocked by the obstacles of the map and enemies turn crazy. 

Mobirise

FINAL IMPLEMENTATION. Turn Steering Behaviors on/off and use different masks for each of them depending on the situation

→ The good: unique positioning each time.
→ The bad: if there are too many enemies, enemies can block other enemies and prevent them from positioning. Solution: leave avoidance Steering Behaviors activated while attacking and hitting and use a Battle Circle to limit the number of enemies.


MOVEMENT
Steering Behaviors

  • Agent (Script): moves the agent using the Path Manager and Steering Behaviors.
  • Agents Manager (Script).
  • Path Manager (Script): handles the path returned by the navmesh.
  • Time (Script): never lets deltaTime be bigger than fixedDeltaTime.
  • Steering Behaviors: with priorities.
  • Handle different agent radius and terrain heights (e.g. slopes).
  • Adapt corpses to slopes.
  • Polish Steering Behaviors in Alita: movement and dash.
Mobirise

Seek

- To a position
- Towards a direction

Mobirise

Wander

Mobirise

Obstacle Avoidance

Mobirise

Separation

Uses the inverse square law strength.

Mobirise

Collision Avoidance

Also handles parallel collisions.

Mobirise

Align

- Look Where You're Going
- Face

Mobirise

FIRST APPROACH. Obstacle Avoidance and colliders to avoid obstacles

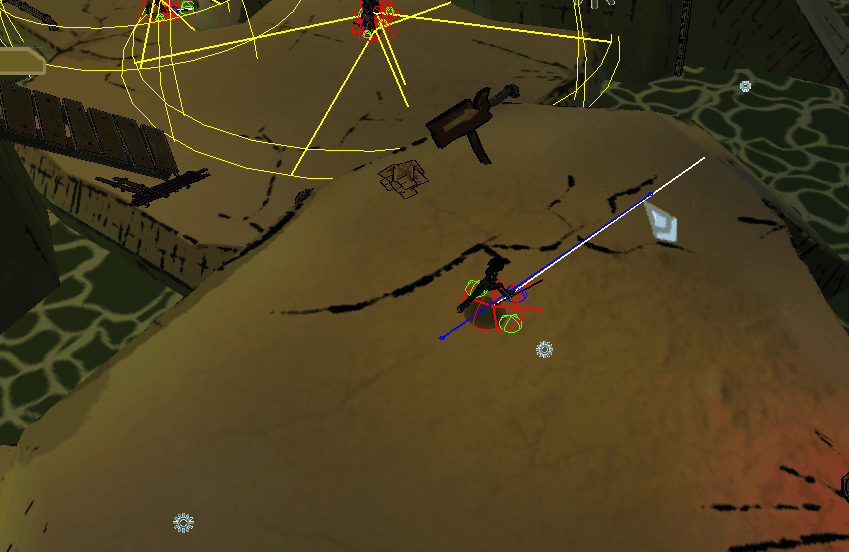
→ The good: the hit point with the wall is used to turn the agent (recalculate the direction of the movement).
→ The bad: every obstacle needs a collider.

Mobirise

FINAL IMPLEMENTATION. Project points to the navmesh to never leave the navmesh

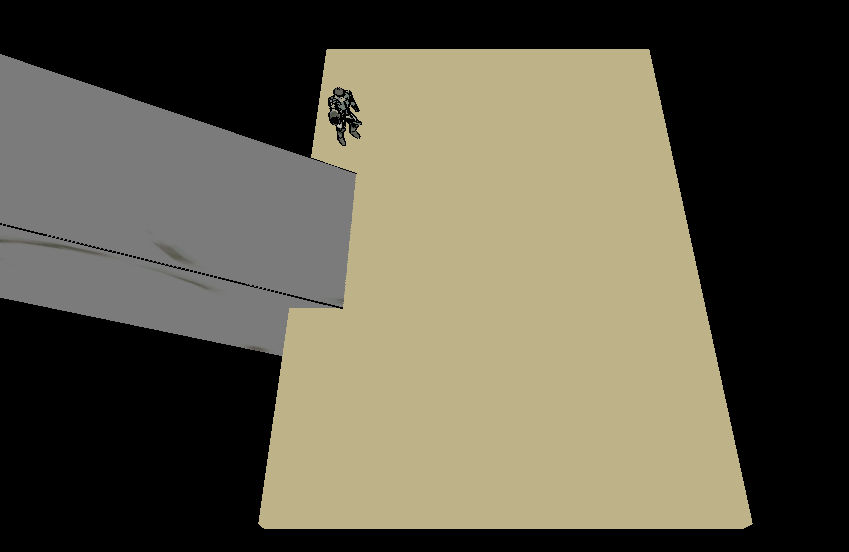
→ The good: agents only need the navmesh to move and always stick correctly to it.
→ The bad: it is harder to detect when an agent is trying to leave the navmesh in order to turn the agent (recalculate the direction of the movement). Solution: project one point in front of the enemy to detect when the point is out of the navmesh. In this case, project a point to each side of the enemy to detect in which direction the agent has to turn.


DECISION MAKING
FSMs

  • Controllers: I implemented a basic class for any enemy. From here, the FSM is updated.
  • FSMs where each state is a class: I provided modular states reusable in all of the FSMs, so Guillermo with the Barrelman, Aleix with the Frog, and I could spend more time implementing the characteristic states of each enemy.
  • Implement the Cyborg Melee, the Cyborg Ranged, and the Boss Makaku.
  • Implement the Cyborgs mini bosses: they have priority in the Battle Circle and a slightly different behavior.
  • Frustum Culling: enemies are activated when they are seen for the first time and their corpses are removed after a period of time when they are off-screen.
  • Add animations to both Cyborgs and the Boss.

Think

GoTo

- StartPosition: if too far away from the spawn position, go back home.
- LastKnownPosition: where the target has been seen.
- DangerDistance
- AttackDistance
- Flank
- Backtrack

Wander

- Basic
- Strafe

LookAround

Attack

Hit

Stun

- Basic
- Force

Cooldown

Cyborg Melee

Punches Alita from a short distance.

  • States: Think, GoTo (StartPosition, LastKnownPosition, Danger Distance, and Attack Distance), Wander (Basic and Strafe), Attack, Hit, and Stun (Basic and Force).
Mobirise

Cyborg Ranged

Shoots Alita from a long distance.

  • States: Think, GoTo (StartPosition, LastKnownPosition, Attack Distance, Flank, and Backtrack), Wander (Basic), LookAround, Attack, Hit, Stun (Basic and Force), and Cooldown.
  • BulletMover (Script).
Mobirise

Boss Makaku

Has two phases and performs two different attacks per phase.

  • FingerMover (Script).
  • Implement the reactions of Alita: GoToSlapDirection, GoToFingerFanPosition, and Stun.
  • Add decals.
Mobirise

Smash (phase 1 and phase 2)

Mobirise

Slap

Mobirise

FingerFan

Conclusions

Overall, this project has been an exciting and enriching experience.

First, because I have been able to work with people I have never worked before with - and I have learnt something from everybody. Second, because I have been able to face a multitude of unique challenges from a variety of fields - and my comfort zone has expanded with them.

Thank you team for bringing Alita: Unbreakable Warrior to life!

Alita Unbreakable Warrior